Contribution Guidelines
This document is for beta testers, students, and anyone who wishes to submit corrections, updates, or suggested additions to the Data Engineering Bootcamp repository.
Small Contributions:
Use the GitHub Issue Tracker
If you have small, isolated corrections (typos, fixing links, etc.) the best way to submit them is through the GitHub Issue Tracker.
Github has a simple ticketing system when you had submit a "Tickets" (something that needs to fixed/edited) for that repo. These tickets will go in a que where they can be sorted/prioritized/worked on accordingly.
GitHub Issue Tracker instructions
Fill out the following:
More Substantive Contributions:
Submit a Pull Request for review
Pull requests can be used for more substantive contributions (from beta testers in particular).
- You will make a new branch (a beta branch) off the
data-engineering-bootcamp- Make the changes/edits/suggestions
- Then submit a pull request to be reviewed by the admits
- The admits might reach our if they have any questions
Steps to submit a Pull Request using the Terminal
1. Clone repo
In the directory where you wish the project folder to live, do:
git clone https://github.com/datastackacademy/data-engineering-bootcamp
cd data-engineering-bootcamp
2. Create a new branch and switch to it
- It is almost never advisable for contributors to make edits directly to the
mainbranch. Instead, create a new working branch based onmain, and call it something likech2-beta-alice, so that it is clear who the branch belongs to and what material it covers.
First, make sure that you
pullthe changes from the remote repo into your local, so it is up to date. Then you can create and check out your new branch:git pull
git checkout -b ch2-beta-alice
- Replace
ch2-beta-alicewith your own new branch name. The-bflag specifies to create a new branch; if you have already done this, you can simply dogit checkout ch2-beta-aliceto switch to your working branch.3. Make your local changes
- Make your corrections and suggestions locally, using whatever IDE or editor you prefer.
4. Check status and stage changes
git status
You will see a status message indicating what files you have changed:

Then, to stage a changed file for commit, do:
git add <file>
or, to stage all files:
git add .
When using git add . it is always a good idea to inspect the file list to make sure that you are only adding files that need to be updated. For example, on Mac OS, the .DS_Store files often accidentally make their way into commits. In the case of commonly occurring files such as this, you might want to add the filename to your .gitignore file so that you do not have to manually stash the file every time you do a commit.
You will see that the status has changed:

Once your changes are staged, you can commit them
5. Commit your changes
git commit -m "commit message briefly explaining changes"
6. Push from local to the remote working branch
Finally, push your changes from your local repo to the remote
Push from your local to the remote working branch
git push
7. Submit a pull request for review
- When you have finished your contributions for that episode or chapter, submit a pull request for review
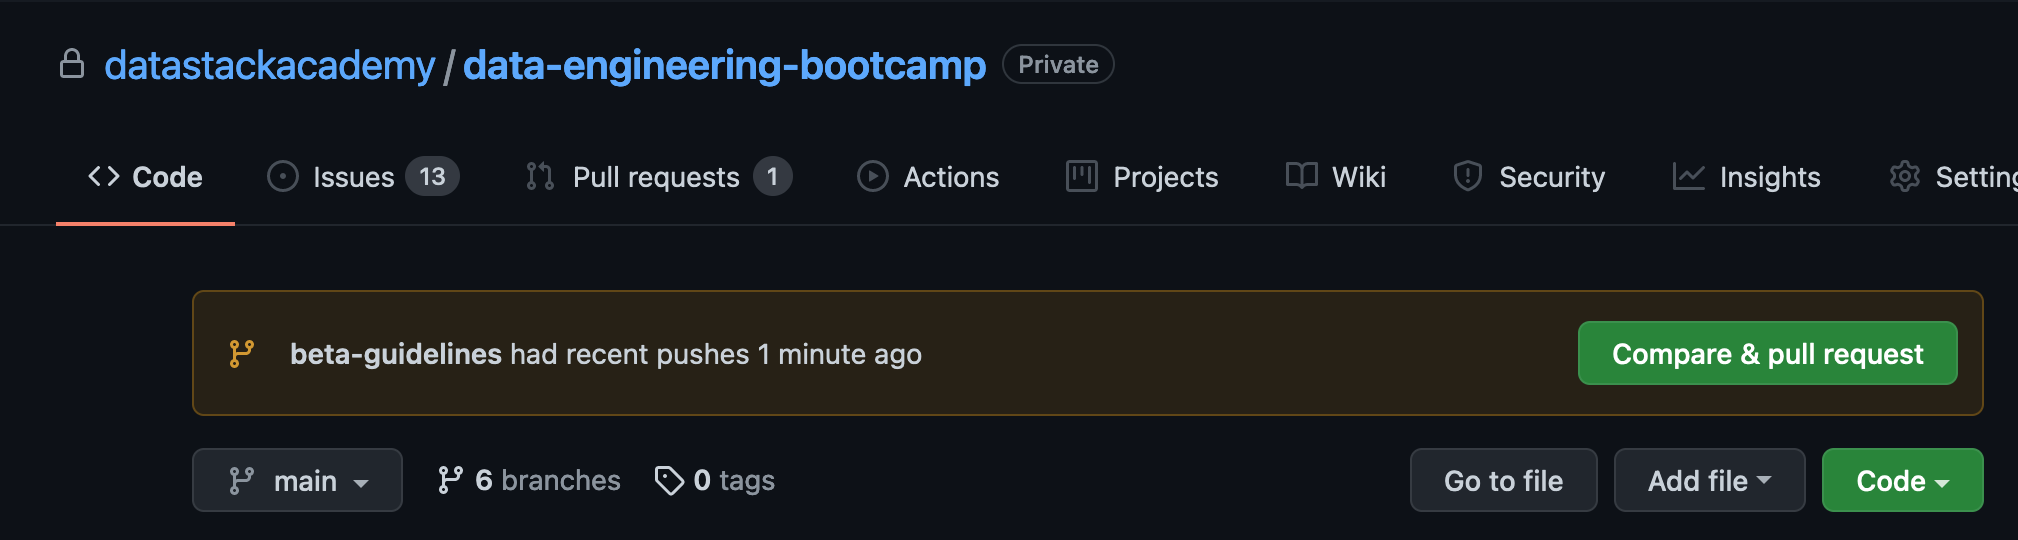
The repository admins will review your pull request and let you know if further changes or needed, or otherwise will merge your changes into the main repo.
Steps to submit a Pull Request using VS Code
VS Code
VS Code includes support for Git without installing extensions. First, add your project folder to the workspace, from the File menu, or by right clicking in the source control pane. You will see the repository appear under 'Source Control Repositories:
First, make sure that you are on the correct branch (the branch menu is in the bottom-left corner):

If you need to create a branch, clicking the branch icon will bring up a menu - select 'Create New Branch'
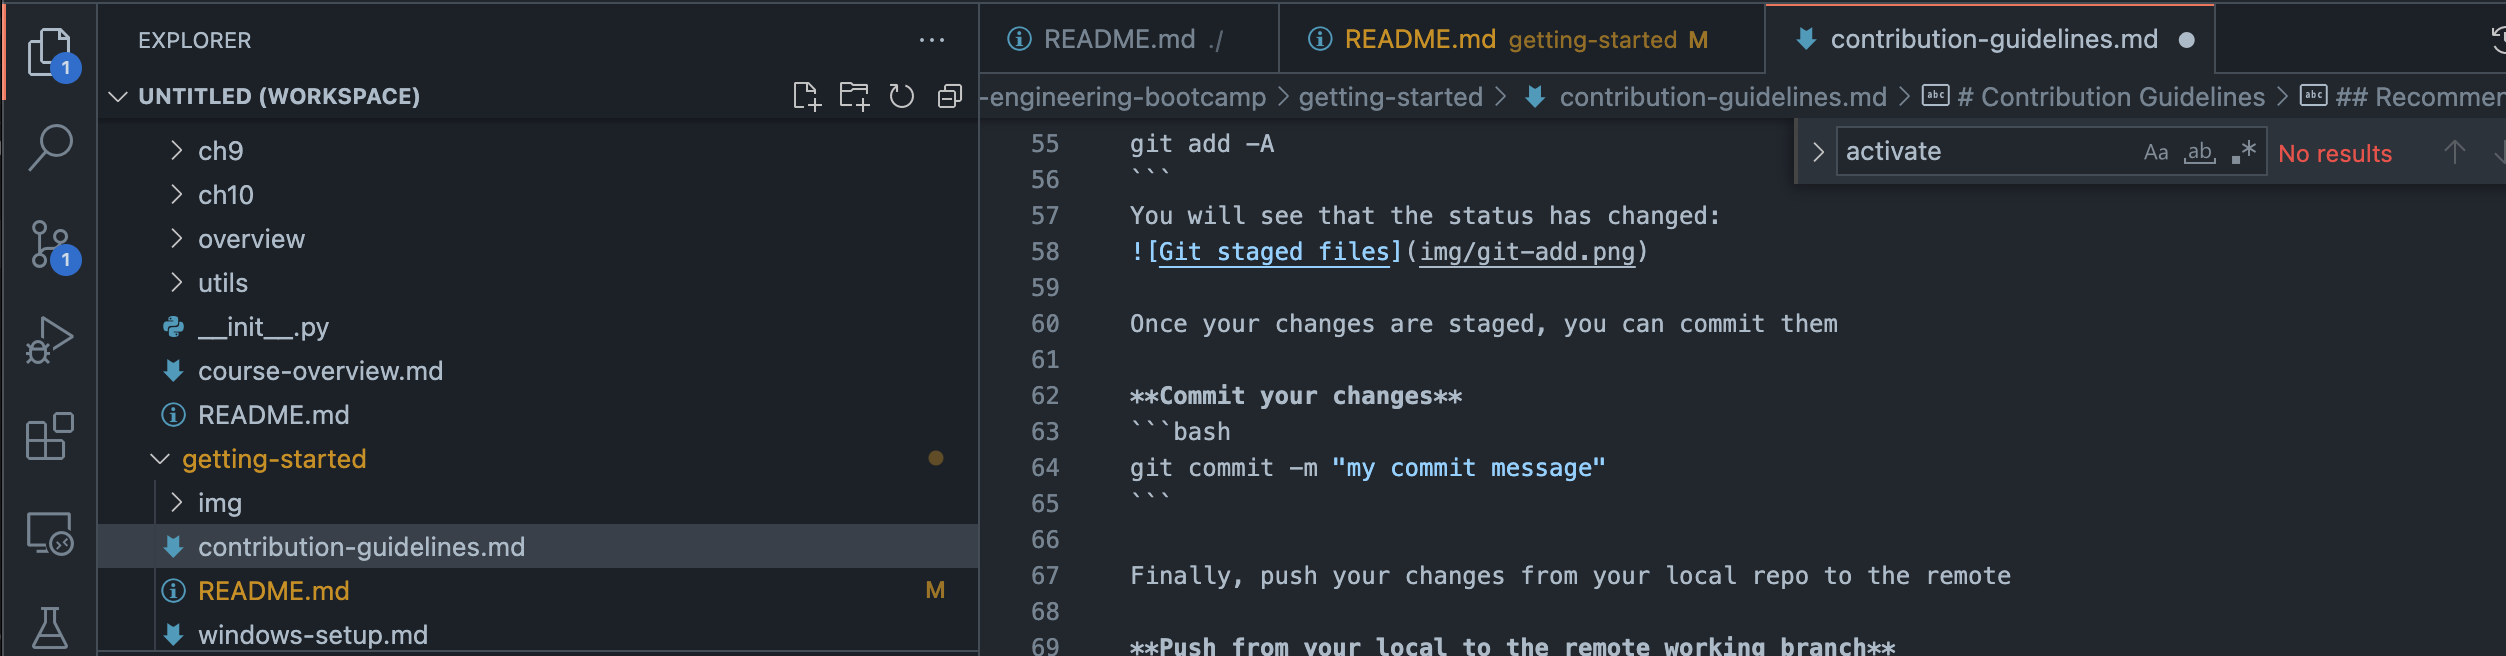
When you make changes to files, you will see the changes (not yet staged) in the source control browser:
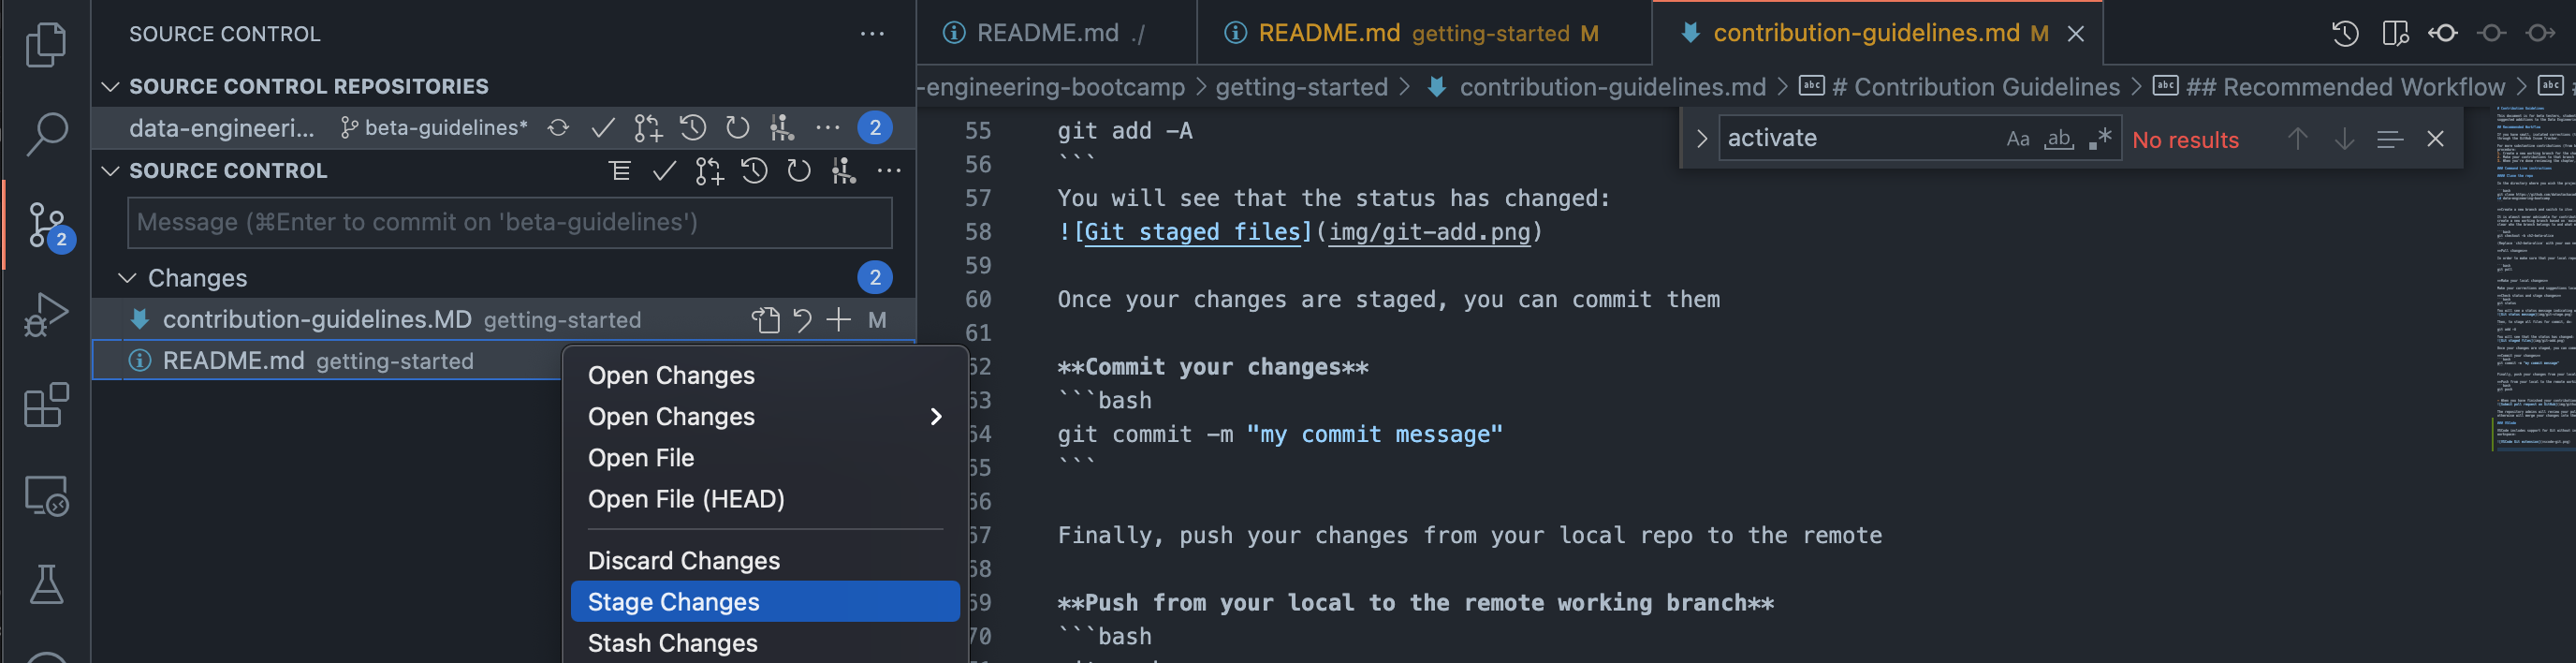
To stage your changes, select the changed files, right-click, and select 'Stage changes'. You will see the status update to reflect the stages:

Click the check box, or press Ctrl+Enter (⌘+Enter on a Mac), and enter a commit message. Your changes have been committed, but still need to be pushed to the remote repository. Hit the green 'Sync changes' button:

VSCode will pull recent changes, and push your changes to the remote repository. Go to GitHub to submit a pull request.